Learning Phaser with Astro
I’ve been toying with the idea of making a videogame for a long time, but was lacking motivation. I recently came across a thread by Brian Bucklew who documented his work in porting his Caves of Qud from Unity to Godot. The thread is a great read and I highly recommend it.
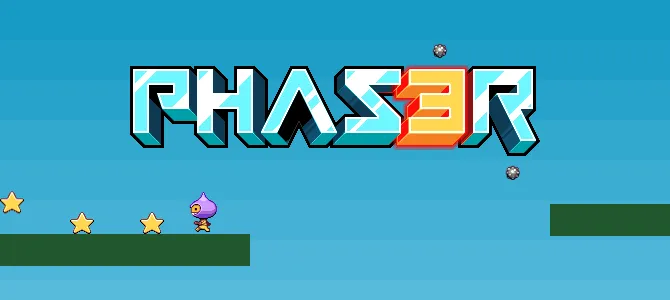
After reading the thread, it seems I finally found that motivation as I jumped into learning Godot. I very quickly realized I didn’t want to learn a GDScript, so before investing more effort into Godot, I decided to try out Phaser, a JavaScript game engine that runs on the web. I began going through the official tutorial and the first steps include setting up a web server. I thought to myself, “I can do that in Astro!1” So I did.
The first Astro-related issue I ran into is that the content folder for the blog has to be in Markdown or JSON. Fortunately, Astro supports MDX, which is Markdown that can render JSX inline. I can even import components from the project and use them in my Markdown. So, I create an MDX file in my content directory and immediately realize there is no syntax highlighting for this filetype in Neovim.
I search for a Treesitter grammar with no luck. I search online and find nothing, at most there are recommendations to set filetype to JSX, but this would mean no language server features. I decided to write the MDX without syntax highlighting and develop the Phaser tutorial in a component file to import into the MDX file.
components/Phaser/HelloWorld.astro
<div class="wrapper">
  <button data-button>Click Me!</button>
</div>

<script>
  // Find our component DOM on the page.
  const button = document.querySelector("[data-button]");

  // Add event listeners to send alert when a button is clicked.
  button.addEventListener("click", () => alert("You clicked the button 🎉"));
</script>
MDX
import HelloWorld from "../../components/Phaser/HelloWorld.astro";

<HelloWorld />;By creating an .astro file in my components/ directory, I am now able to load it into my MDX file and render it. I can even add styles and arbitrary HTML by using the Astro component syntax!
On to using Phaser in MDX. The first issue I ran into was that the preload function was fetching from the Phaser asset library and couldn’t be loaded due to CORS restrictions. I decided to host the assets locally by downloading them to the /public/ folder. I’m not sure if there is a better way to do this, but it works for now.
A second issue I encountered was that there was a console error when using the tutorial code as-is. It was a simple fix, thankfully the error was self-documenting. The particle emitter was changed since the tutorial was published.
// Old
const particles = this.add.particles("red");
const emitter = particles.createEmitter({
  speed: 100,
  scale: { start: 1, end: 0 },
  blendMode: "ADD",
});

// New: https://github.com/photonstorm/phaser/issues/6476#issue-1669398672
const emitter = this.add.particles(0, 0, "red", {
  speed: 100,
  scale: { start: 1, end: 0 },
  blendMode: "ADD",
});
After addressing these issues, I was able to get the Phaser game to load inline successfully. I also tried to an Astro client directive to load the scripts only when the client is idle, but this embeds the script as-is and I wouldn’t be able to use TypeScript, so I skipped it.
All in all, I converted the tutorial to TypeScript, loaded the assets locally, fixed the particle emitter, loaded Phaser into a <div> tag and added some styles so it would fit on the page and not be too tall. The final source2 for the tutorial:
components/Phaser/LoadPhaser.astro
<script>
  import Phaser, { Types } from "phaser";

  const gameConfig: Types.Core.GameConfig = {
    type: Phaser.AUTO,
    width: "100%",
    height: 300,
    parent: "phaser-1",
    physics: {
      default: "arcade",
      arcade: {
        gravity: { y: 200 },
      },
    },
    scene: {
      preload: preload,
      create: create,
    },
  };

  function preload() {
    this.load.image("sky", "/phaser/assets/space3.png");
    this.load.image("logo", "/phaser/assets/phaser3-logo.png");
    this.load.image("red", "/phaser/assets/red.png");
  }

  function create() {
    this.add.image(400, 300, "sky");

    const emitter = this.add.particles(0, 0, "red", {
      speed: 100,
      scale: { start: 1, end: 0 },
      blendMode: "ADD",
    });

    const logo = this.physics.add.image(400, 100, "logo");

    logo.setVelocity(100, 200);
    logo.setBounce(1, 1);
    logo.setCollideWorldBounds(true);

    emitter.startFollow(logo);
  }

  const game = new Phaser.Game(gameConfig);
</script>
MDX
import LoadPhaser from "../../components/Phaser/LoadPhaser.astro";

<LoadPhaser />;
I’m looking forward to learning more about Phaser and continuing to document my progress on my blog. I also hope to find a follow-up tutorial that isn’t from 2018 and uses the latest Phaser API. I’m not sure what I’ll build with Phaser, but I’m sure I’ll find something fun to make.